
TIP项目地址:
Waiting for api.github.com...
前言
订阅转换是个多代理用户的刚需——把多个代理的订阅合并成一个,生成一份统一的配置文件,导入到 Clash/mihomo 里使用。
说到订阅转换,大家首先想到的肯定是 tindy2013/subconverter,16.8k+ stars,功能非常全面,支持 Clash、Surge、Quantumult、Loon 等十几种客户端格式。
但问题是:我用不上这么多功能。
我只用 Clash/mihomo,不需要 Surge、不需要 Quantumult、不需要 Loon。我只需要把几个订阅合并成一份 mihomo 配置,仅此而已。原版的配置项和参数众多,对于这种简单需求来说,学习成本偏高。
所以我就写了这个 subconverter-lite——一个基于 PHP 的轻量化订阅转换工具,只做一件事,做好一件事。
项目介绍
功能特点
- 轻量化设计:整个项目只有几个 PHP 文件,无需编译,直接部署
- 简洁美观的前端:深色主题,JetBrains Mono 字体,交互直观
- 支持多订阅合并:最多支持 10 个订阅链接合并
- 支持多种代理协议:SS、SSR、VMess、VLESS、Trojan、Hysteria 等
- 基于 mihomo 配置模板:开箱即用,可自定义
技术栈
- 后端:PHP >= 7.4 + curl 扩展
- 前端:原生 HTML/CSS/JS,零框架依赖
与原版对比
| 特性 | subconverter (原版) | subconverter-lite |
|---|---|---|
| 语言 | C++ | PHP |
| 客户端支持 | 15+ 种 | Clash/mihomo |
| 部署方式 | 编译 / Docker | 直接部署 |
| 配置复杂度 | 高 | 低 |
| 适用场景 | 全客户端覆盖 | 仅需 Clash/mihomo |
如果你只用 Clash/mihomo,subconverter-lite 完全够用,而且更简单。
技术实现
项目架构
整体架构非常简单,一个请求流程如下:
项目结构:
subconverter-lite/├── index.php # 入口文件(重定向到前端)├── index.html # 前端页面├── api.php # API 入口├── config.php # 配置文件├── src/│ ├── Subscription.php # 订阅解析类│ └── Converter.php # 转换器类└── templates/ └── base.yaml # 基础模板订阅解析(Subscription.php)
Subscription 类负责订阅链接的验证和名称提取:
class Subscription{ private int $timeout; private string $userAgent;
public function __construct(int $timeout = 10, string $userAgent = '') { $this->timeout = $timeout; $this->userAgent = $userAgent ?: 'clash-verge/v2.0.0'; }
// 验证订阅链接是否可访问 public function validate(string $url): bool { $ch = curl_init(); curl_setopt_array($ch, [ CURLOPT_URL => $url, CURLOPT_RETURNTRANSFER => true, CURLOPT_TIMEOUT => $this->timeout, CURLOPT_FOLLOWLOCATION => true, CURLOPT_NOBODY => true, ]); curl_exec($ch); $httpCode = curl_getinfo($ch, CURLINFO_HTTP_CODE); curl_close($ch); return $httpCode === 200; }
// 使用 crc32 生成唯一标识 public function extractName(string $url, int $index): string { $hash = sprintf('%x', crc32($url)); return "sub_{$hash}"; }}核心逻辑很简单:验证链接是否可访问,然后用 crc32 生成一个唯一名称作为 proxy-provider 的标识。
转换器(Converter.php)
Converter 类负责加载模板并替换 proxy-providers:
class Converter{ private string $templatePath;
public function __construct(string $templatePath) { $this->templatePath = $templatePath; }
public function convert(array $subscriptions): string { // 加载模板 $template = file_get_contents($this->templatePath);
// 构建 proxy-providers 配置 $providers = []; foreach ($subscriptions as $sub) { $providers[] = sprintf( ' %s:\n type: http\n url: "%s"\n interval: 3600\n path: ./%s.yaml', $sub['name'], $sub['url'], $sub['name'] ); }
// 替换模板中的 proxy-providers 占位符 $providerConfig = implode("\n", $providers); $template = preg_replace( '/proxy-providers:.*?(?=\n[a-zA-Z])/s', "proxy-providers:\n" . $providerConfig . "\n", $template );
return $template; }}核心逻辑:读取模板文件,把用户传入的订阅链接填充到 proxy-providers 配置中,返回最终的 YAML 配置。
API 设计
API 入口 api.php 的参数设计非常直观:
单个订阅:/api.php?sub_url=https://example.com/subscribe
多个订阅:/api.php?sub_url_1=https://example.com/sub1&sub_url_2=https://example.com/sub2
自定义名称:/api.php?sub_url_1=https://example.com/sub1&name_1=我的代理最多支持 10 个订阅链接(sub_url_1 到 sub_url_10),同时兼容单个 sub_url 参数。
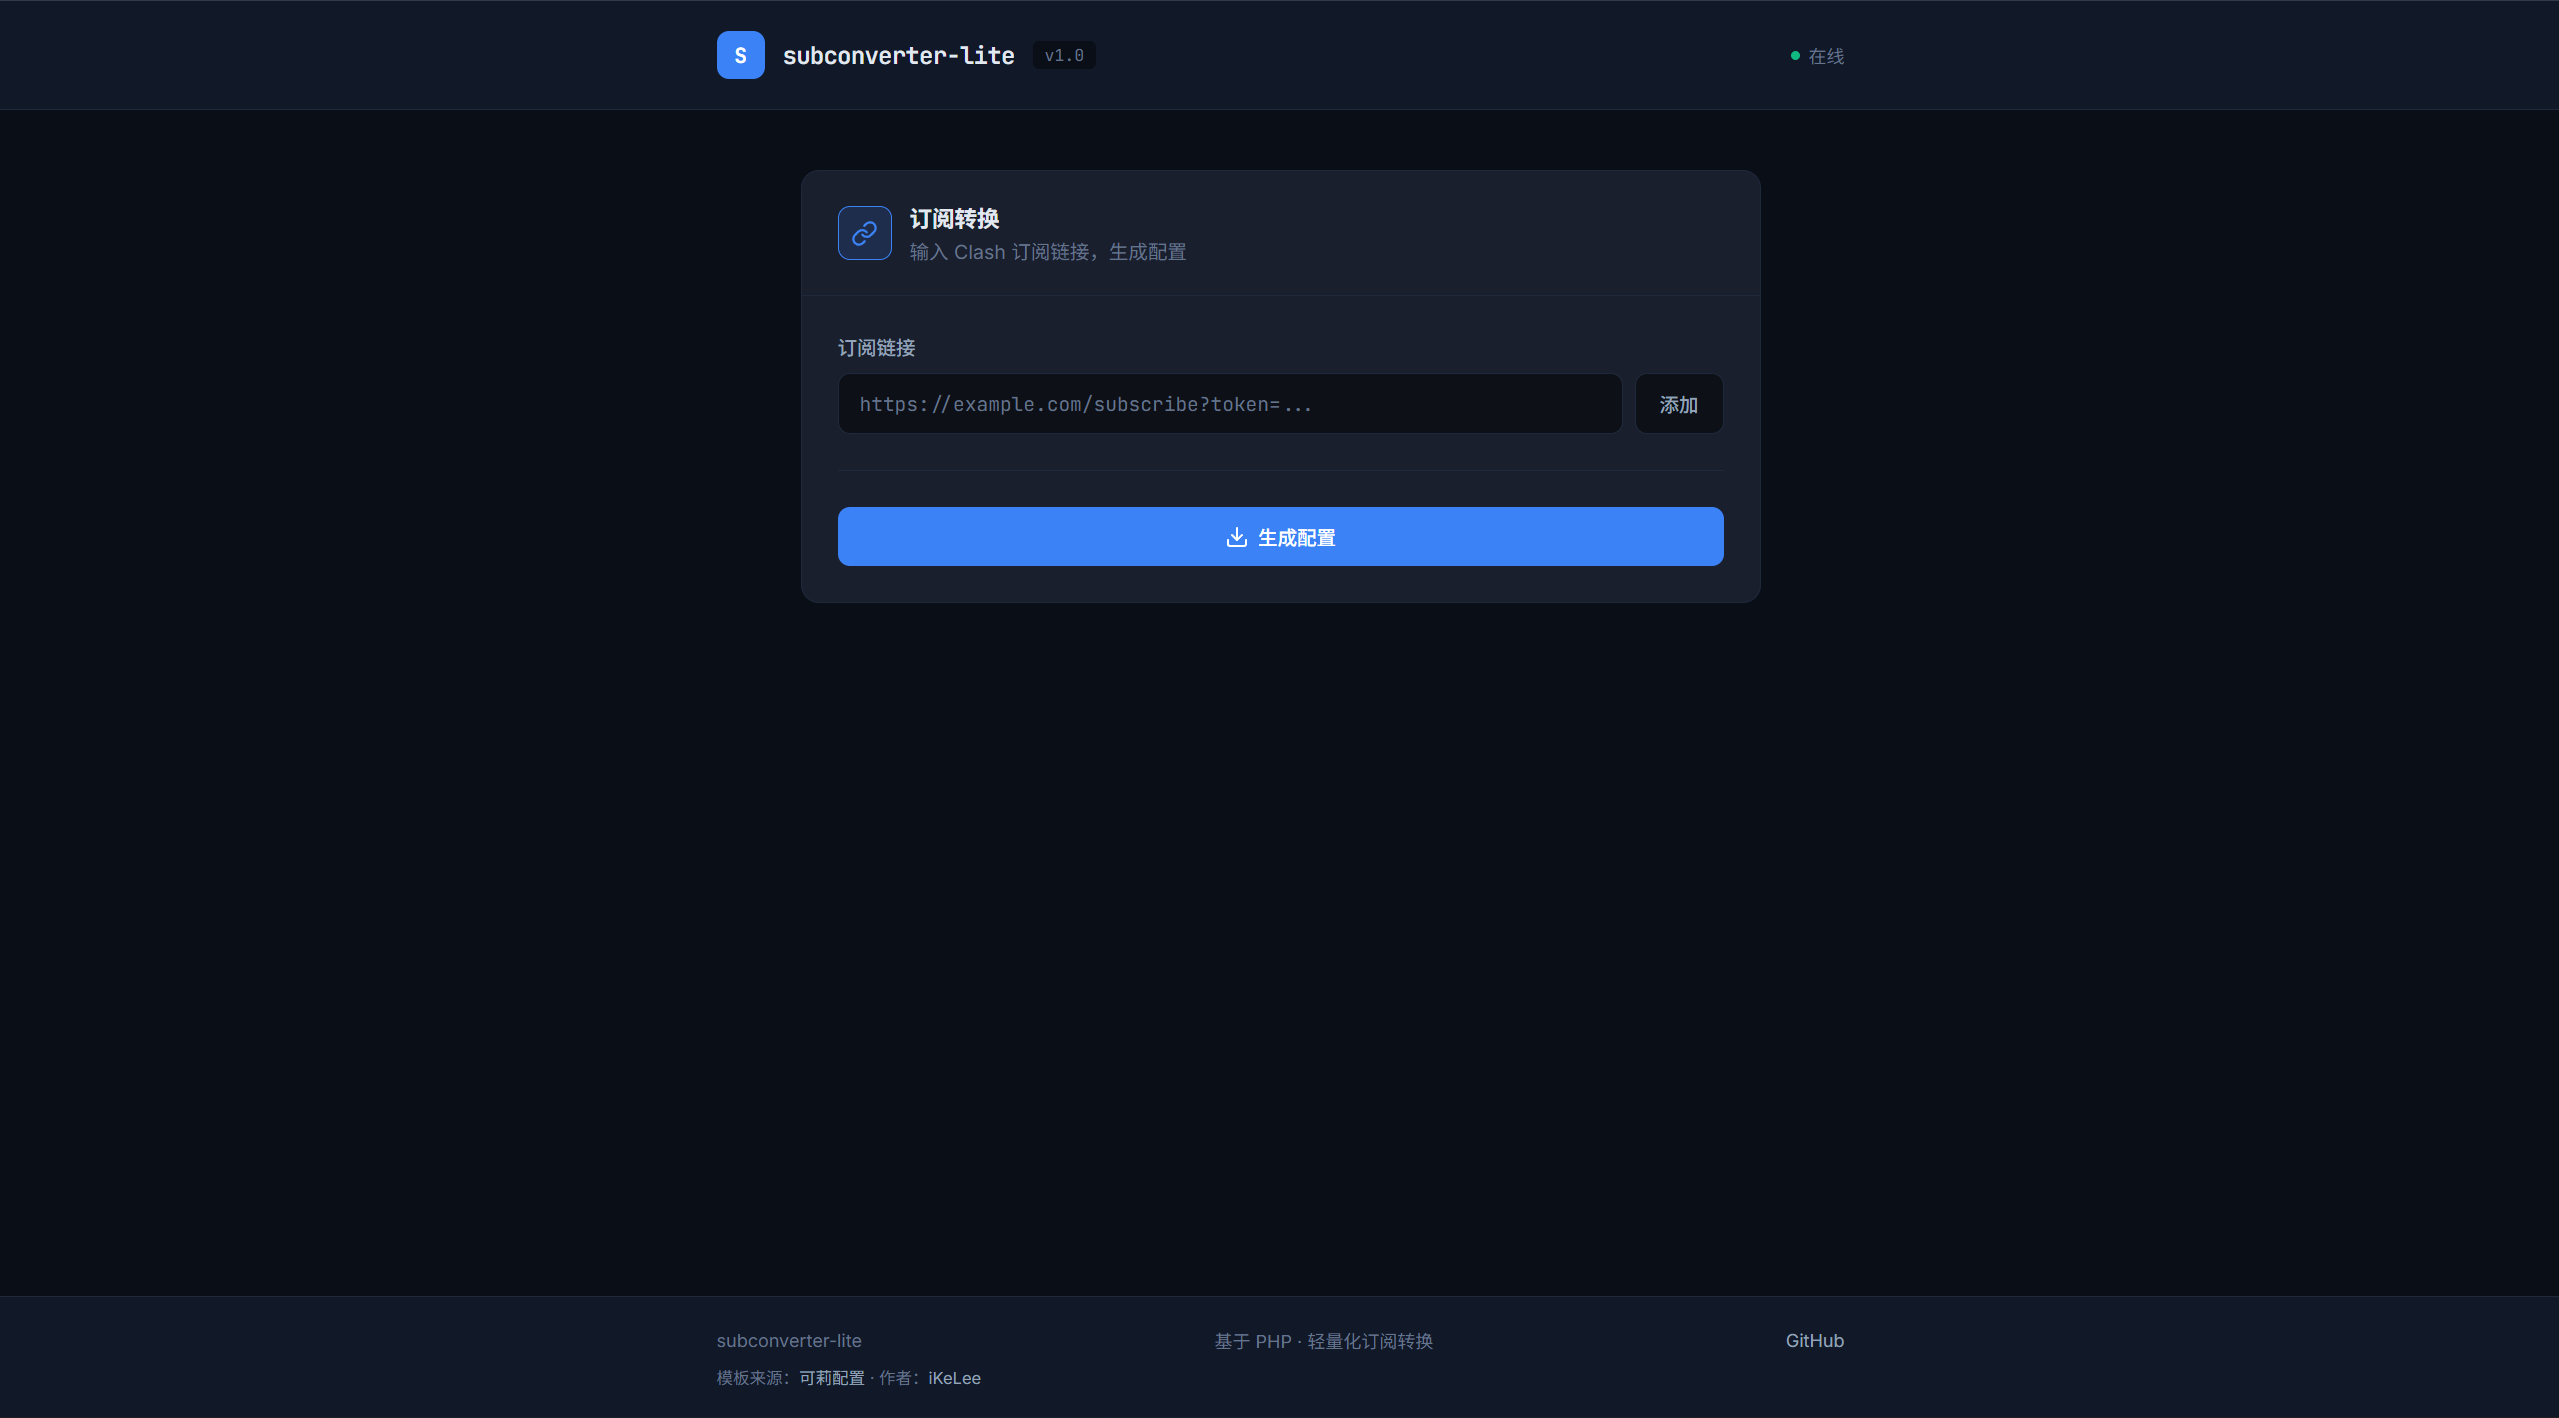
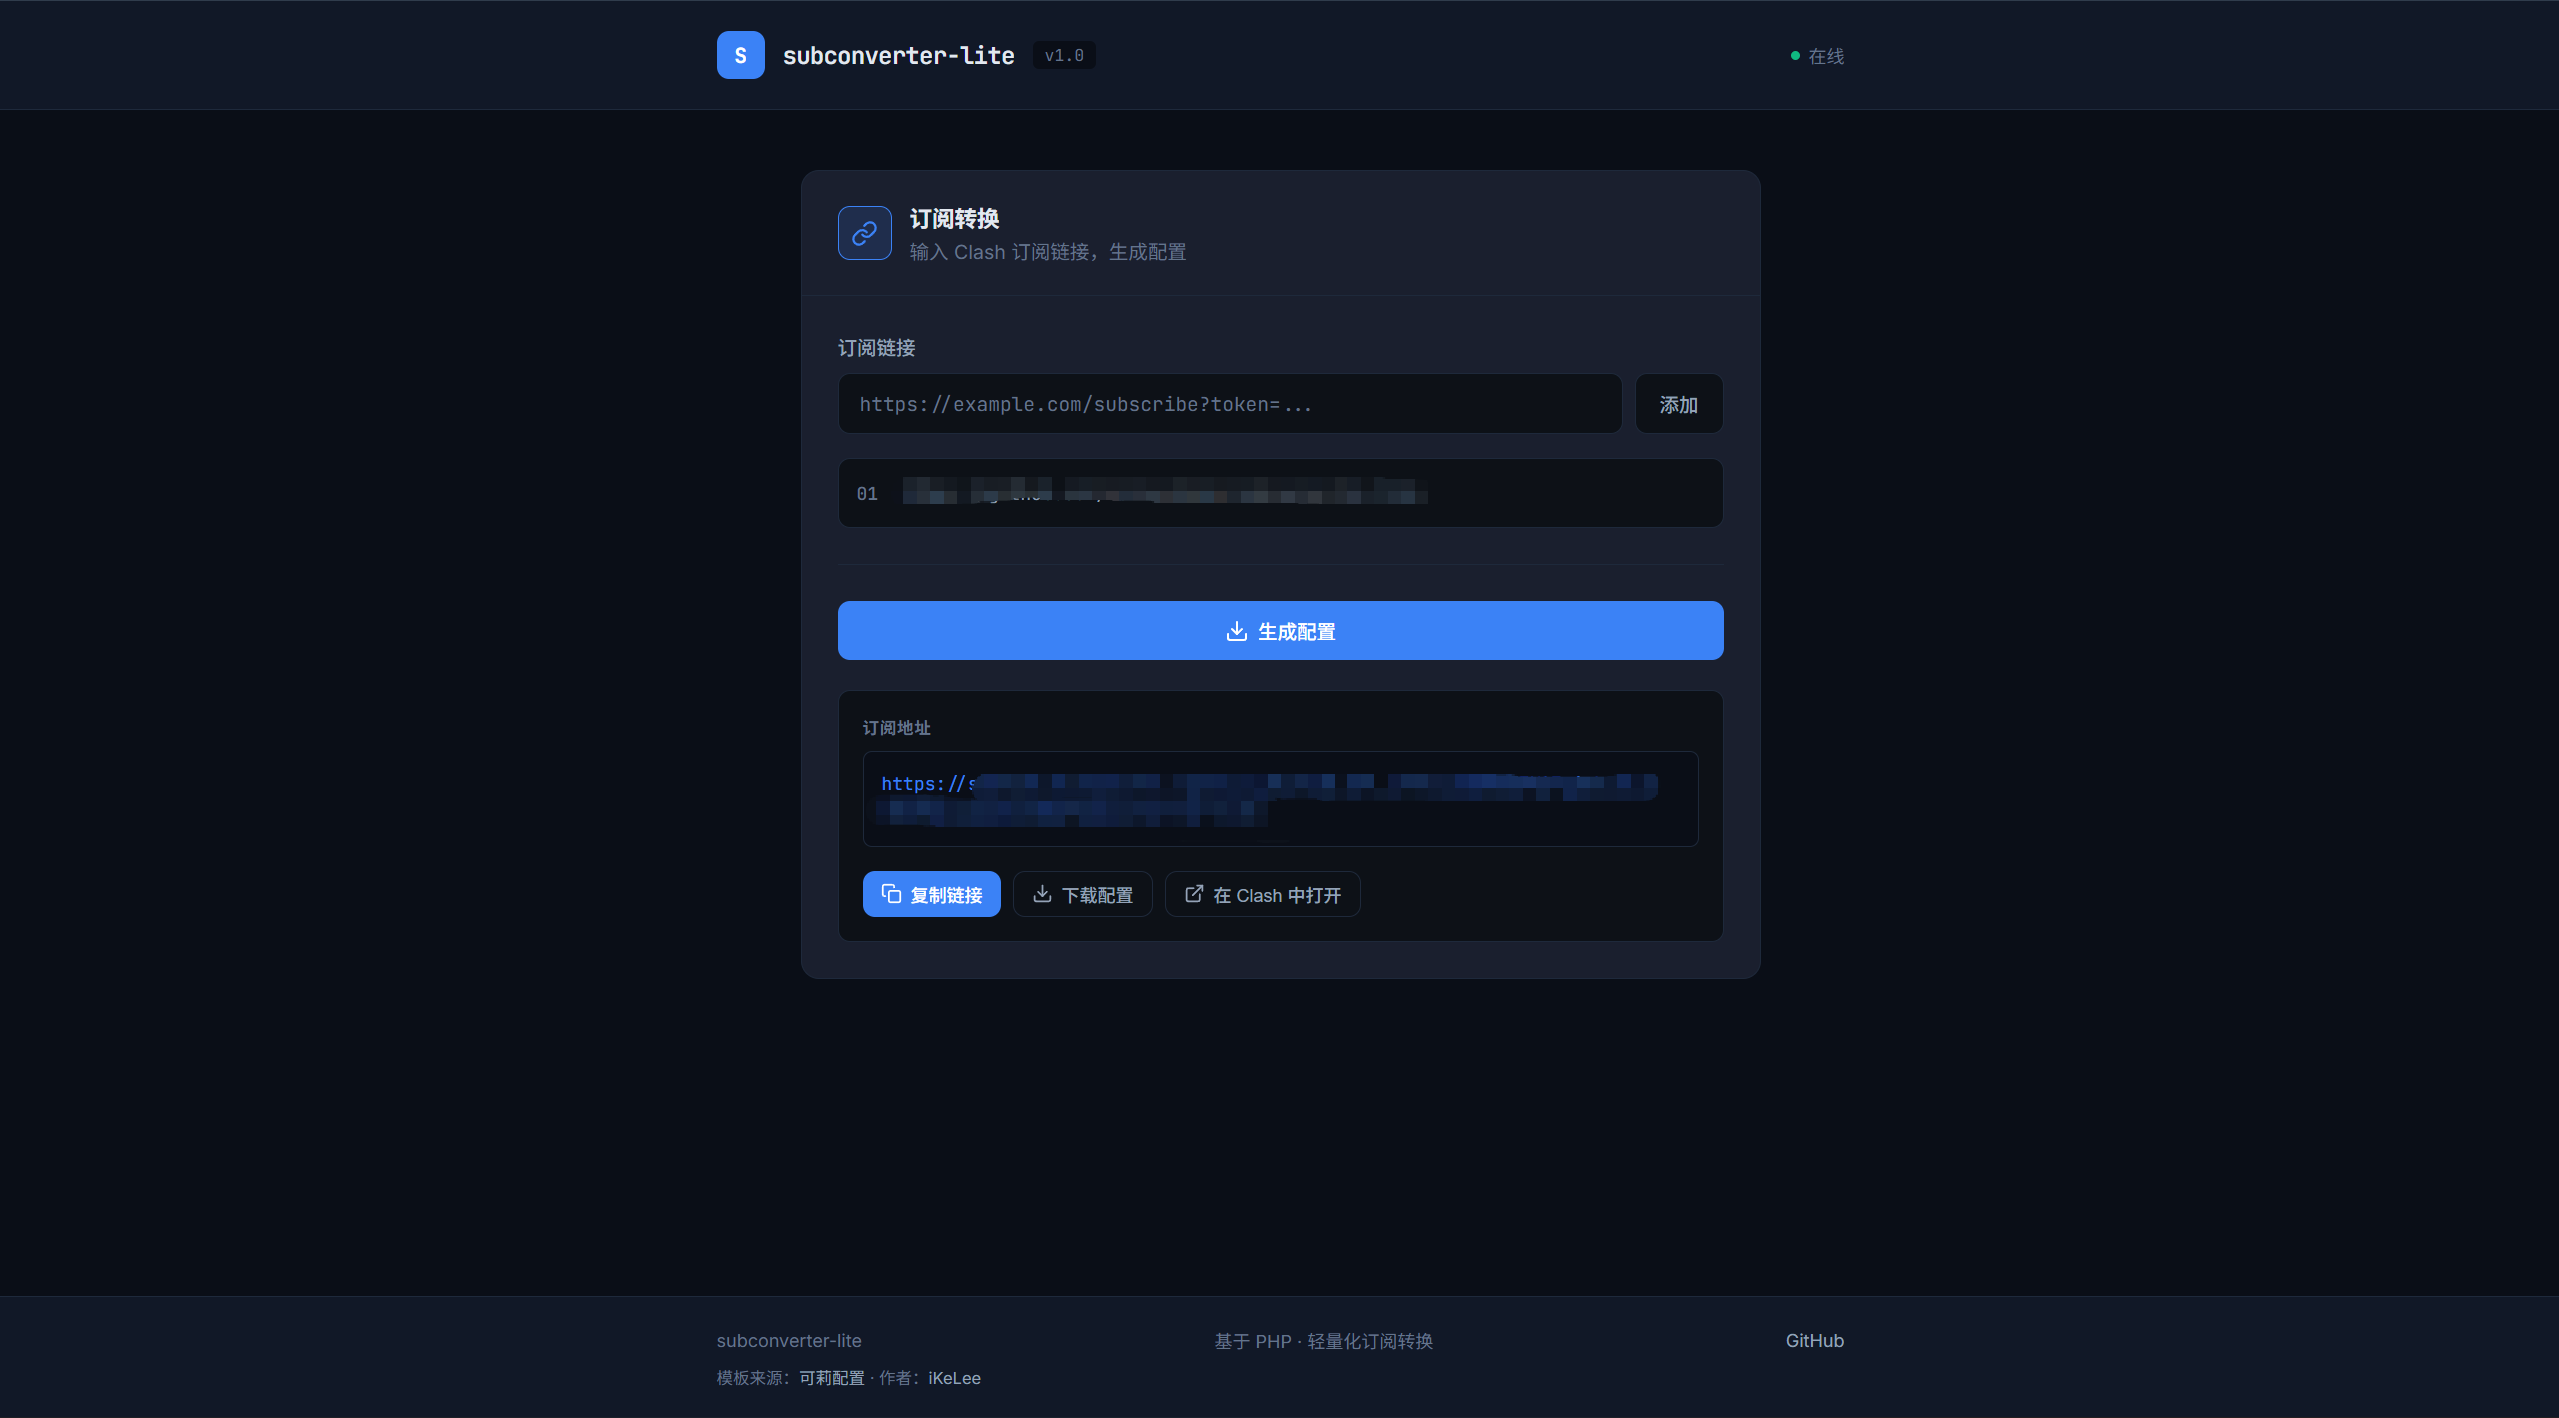
前端实现
前端采用深色主题设计,使用 JetBrains Mono 字体,整体风格简洁:
- 输入框支持 URL 验证
- 可添加多个订阅链接
- 一键生成配置链接
- 支持复制链接、下载配置、在 Clash 中打开
部署教程
环境要求
- PHP >= 7.4
- PHP curl 扩展
安装步骤
1. 克隆项目
git clone https://github.com/mcxiaochenn/subconverter-lite.gitcd subconverter-lite2. 安装 PHP curl 扩展
# Ubuntu/Debiansudo apt-get install php-curl
# CentOS/RHELsudo yum install php-curl3. 配置 Web 服务器
使用 Nginx 的话,配置一个简单的站点:
server { listen 80; server_name your-domain.com; root /path/to/subconverter-lite; index index.html index.php;
location / { try_files $uri $uri/ /index.php; }
location ~ \.php$ { fastcgi_pass unix:/var/run/php/php-fpm.sock; fastcgi_param SCRIPT_FILENAME $document_root$fastcgi_script_name; include fastcgi_params; }}或者使用 PHP 内置服务器快速测试:
php -S 0.0.0.0:8080配置说明
编辑 config.php 可以修改以下配置:
return [ // 模板文件路径 'template_path' => __DIR__ . '/templates/base.yaml',
// 请求超时时间(秒) 'request_timeout' => 10,
// 用户代理 'user_agent' => 'clash-verge/v2.0.0',];模板文件 templates/base.yaml 基于 mihomo 配置格式,可以根据需要自定义。
使用方法
方式一:前端页面(推荐)
访问你的域名,会显示一个简洁的前端页面。输入订阅链接,点击”添加”,然后点击”生成配置”,即可获取订阅地址。
方式二:API 直接调用
# 单个订阅curl "https://your-domain.com/api.php?sub_url=https://example.com/subscribe"
# 多个订阅合并curl "https://your-domain.com/api.php?sub_url_1=https://example.com/sub1&sub_url_2=https://example.com/sub2"
# 自定义代理名称curl "https://your-domain.com/api.php?sub_url_1=https://example.com/sub1&name_1=我的代理"生成的配置链接可以直接导入到 Clash/mihomo 中使用。
总结
subconverter-lite 的定位很简单:只做订阅合并和配置生成,做好这一件事。
如果你和我一样,只用 Clash/mihomo,不需要支持十几种客户端格式,那么 subconverter-lite 可能更适合你。轻量化、易部署、够用就好。
最后再贴一下项目地址,欢迎 Star 和 PR:
如果这篇文章对你有帮助,欢迎分享给更多人!
部分信息可能已经过时